*Affiliate links have been used in this post.
 I made a fresh supply of my DIY vitamin E lip balm yesterday. I’ve been out for awhile. That’s the thing with DIY stuff… When you’re out, you can’t just go buy another one at the store. LOL So, I’m one of those DIYers that ONLY picks EASY projects….ones that are fast and aren’t fussy.
Initially, it can cost you a bit more to get started making your own DIY beauty products. But, once you buy the necessary ingredients, they last for a very long time and are more cost effective in the long run.
Why I like DIY stuff:
#1. It saves me money.
#2. It’s much healthier because I have more control over what goes in my products, and I can avoid added chemicals.
#3. It simply gives me a good feeling that I made it myself. 🙂
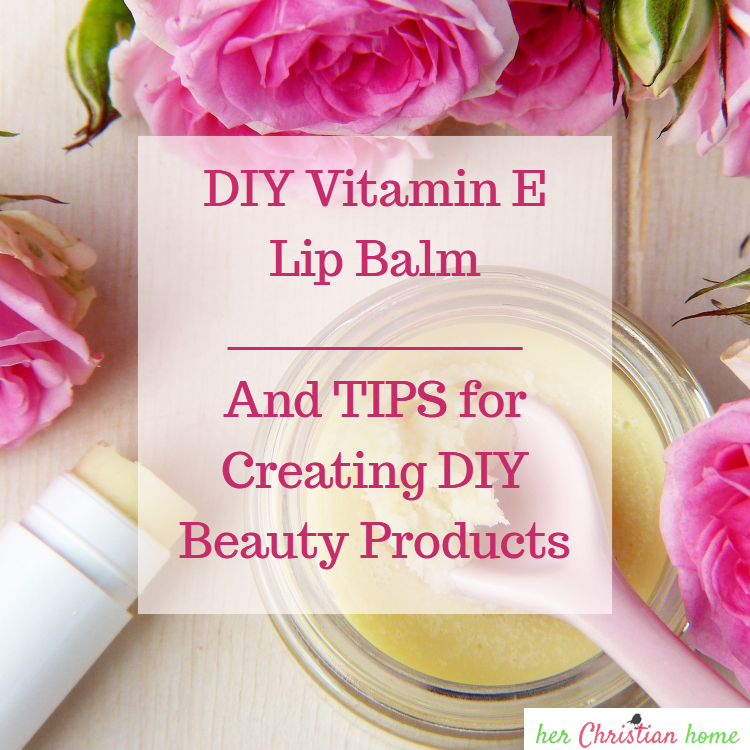
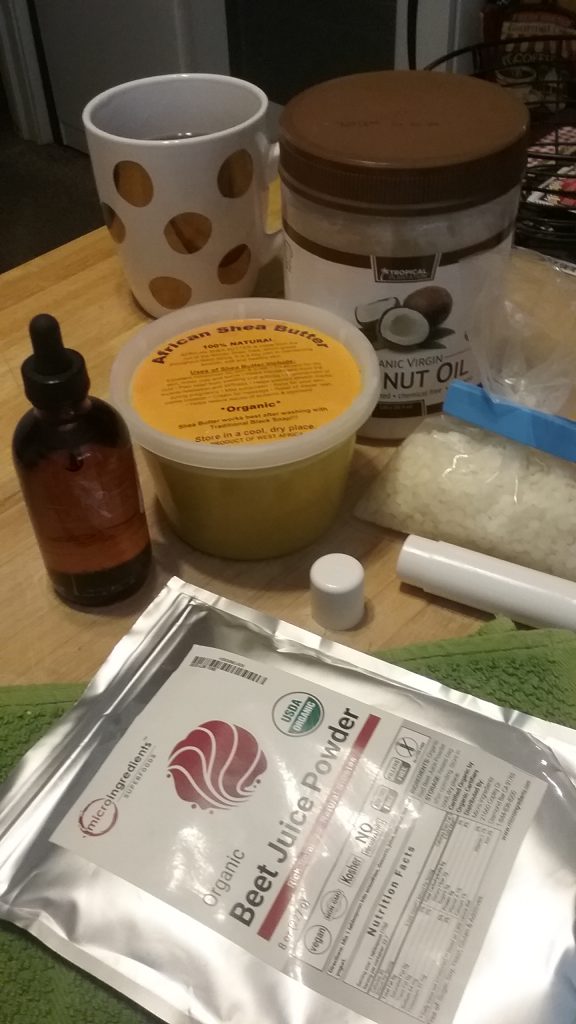
DIY Vitamin E Lip Balm Ingredients
1 TB Beeswax Pellets
1 TB Pure Shea Butter
2 TB Coconut Oil OR Sweet Almond
1/4 or 1/2 tsp. Vitamin E Oil
*10 Drops of Essential Oil (Optional — I prefer peppermint oil)
Empty tubes or tiny containers. (I used a HUGE tube from the lip balm that I purchased when I visited the Pioneer Woman’s Mercantile Store last year. I just took off the outside wrapper. So save your tubes…clean them out, roll the little balm holder thingy back down to the bottom and it’s ready to reuse.)
Step 1:
Grab a polka-dotted mug and pour your favorite tea or coffee. (Enjoy sipping away while doing your DIYing.) Gather ALL your ingredients to make sure you have sufficient supplies.
Note: Beet juice powder is NOT needed for this project. I use this stuff for my DIY blush and just wanted to experiment on trying it out for my lip balm. Beet juice powder can be used to add to smoothies, works for a natural food coloring…and is suppose to be good for high blood pressure.
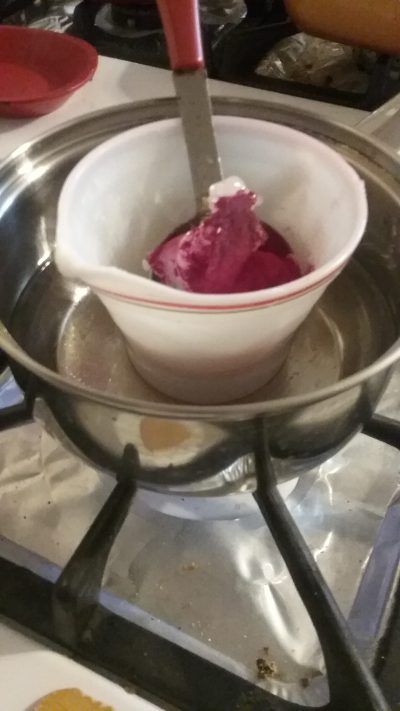
Step 2:
Put the first THREE ingredients in a cup or double boiler pan to melt your ingredients together. Use low heat. (Do NOT put your vitamin E oil or essential oils in yet — you want to preserve the nutrients and not destroy them with heat.)
Tip 1: To create my own “double boiler” system, I found this little stainless steel pan and little white glass cup with a spout-n-handle at the thrift store. So, these stay permanently in my DIY drawer ready to use. If you melt your ingredients in a little glass cup with a spout, it makes it handy to pour out the melted ingredients.
Tip 2: Since I ALWAYS melt oil, shea butter and beeswax in this same cup for my DIY beauty projects, I simply wipe it out really well with a paper towel when I’m finish and then store it in a zip-locked bag to keep out germs and dust. If I don’t use any coloring, I just keep the leftover ingredients in there to melt again instead of wasting the tiny bit leftover. >> Yay! No big clean-up mess!!
Tip 3: I use a metal tablespoon to keep in my DIY drawer. I can measure out my ingredients AND use it to stir the melted ingredients together.
Step 3:
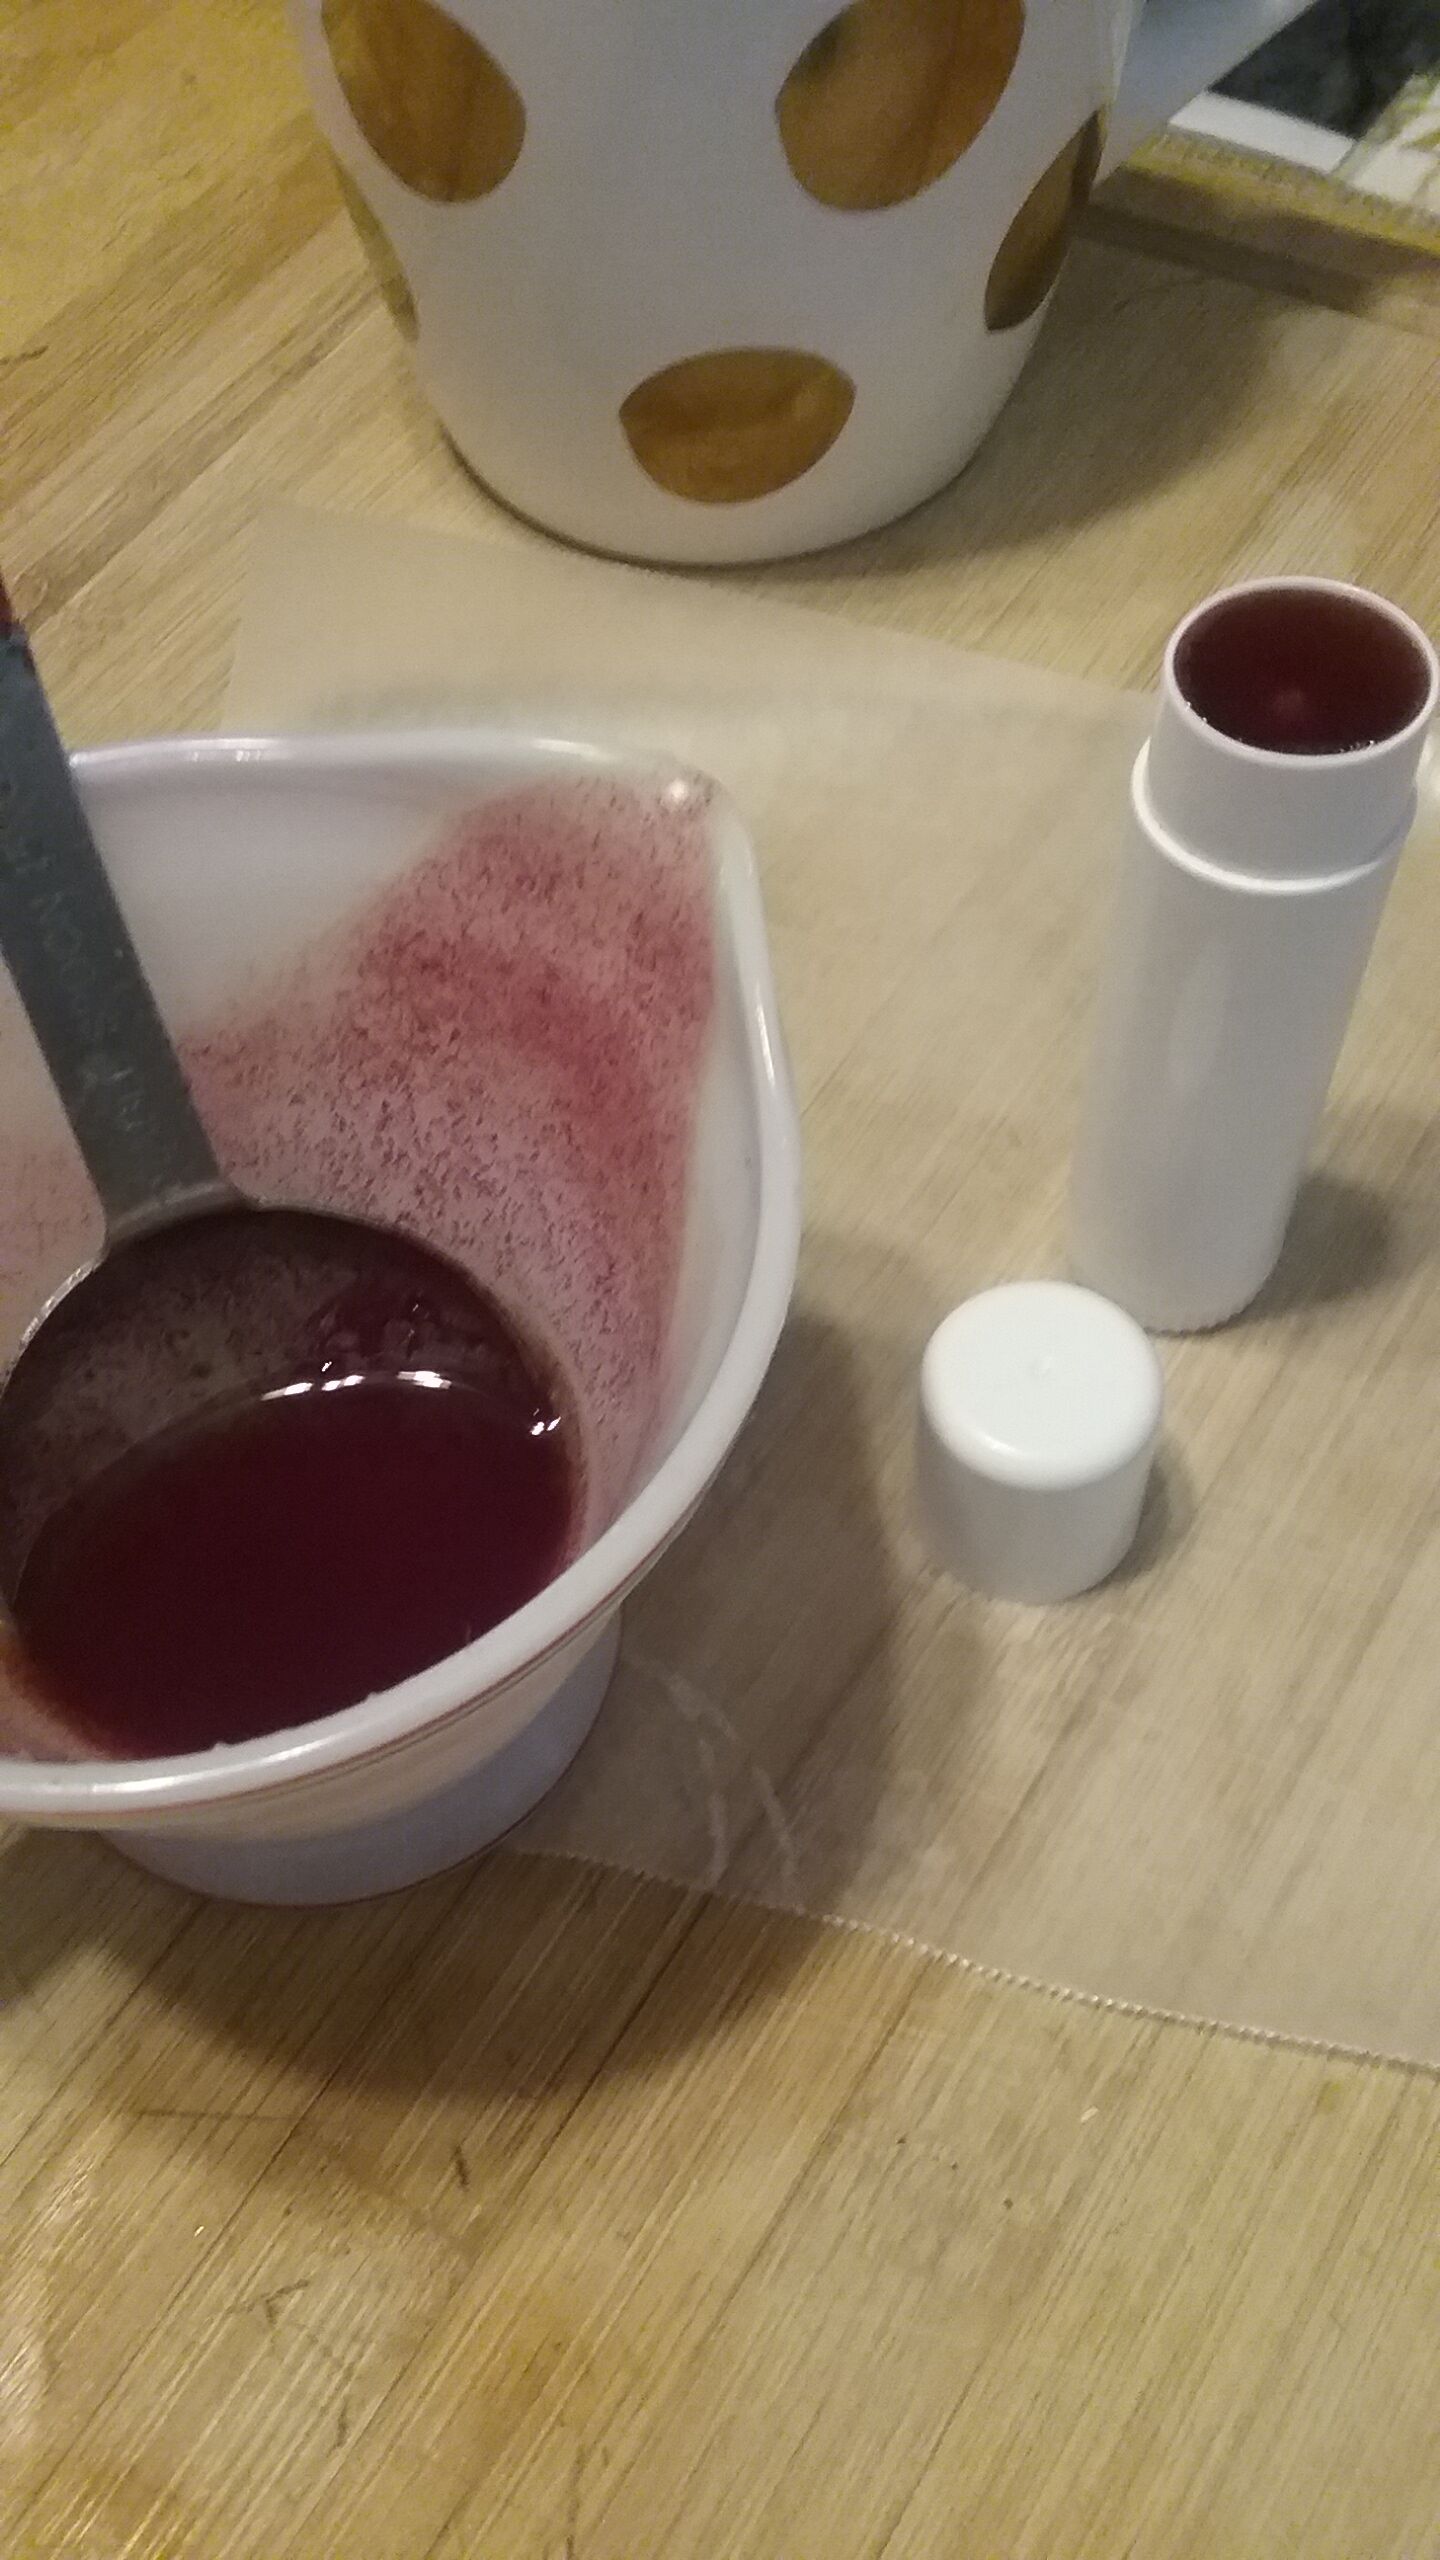
After all ingredients are melted and blended together, add in your vitamin E oil and essential oils I did not add any essential oils this time and I REGRET it. I love the added flavor and tingling of peppermint oil. Essential oils just give it a nice scent and flavor.
Tip: Put some wax paper under your containers before pouring. Wax paper will catch the spills and allow you to keep the leftover residue to put in a baggy to remelt for another project. Of course, in this instance, I didn’t spill anything… so the wax paper ALSO went back into my DIY drawer to reuse again next time. There’s so many ways to stretch things further!
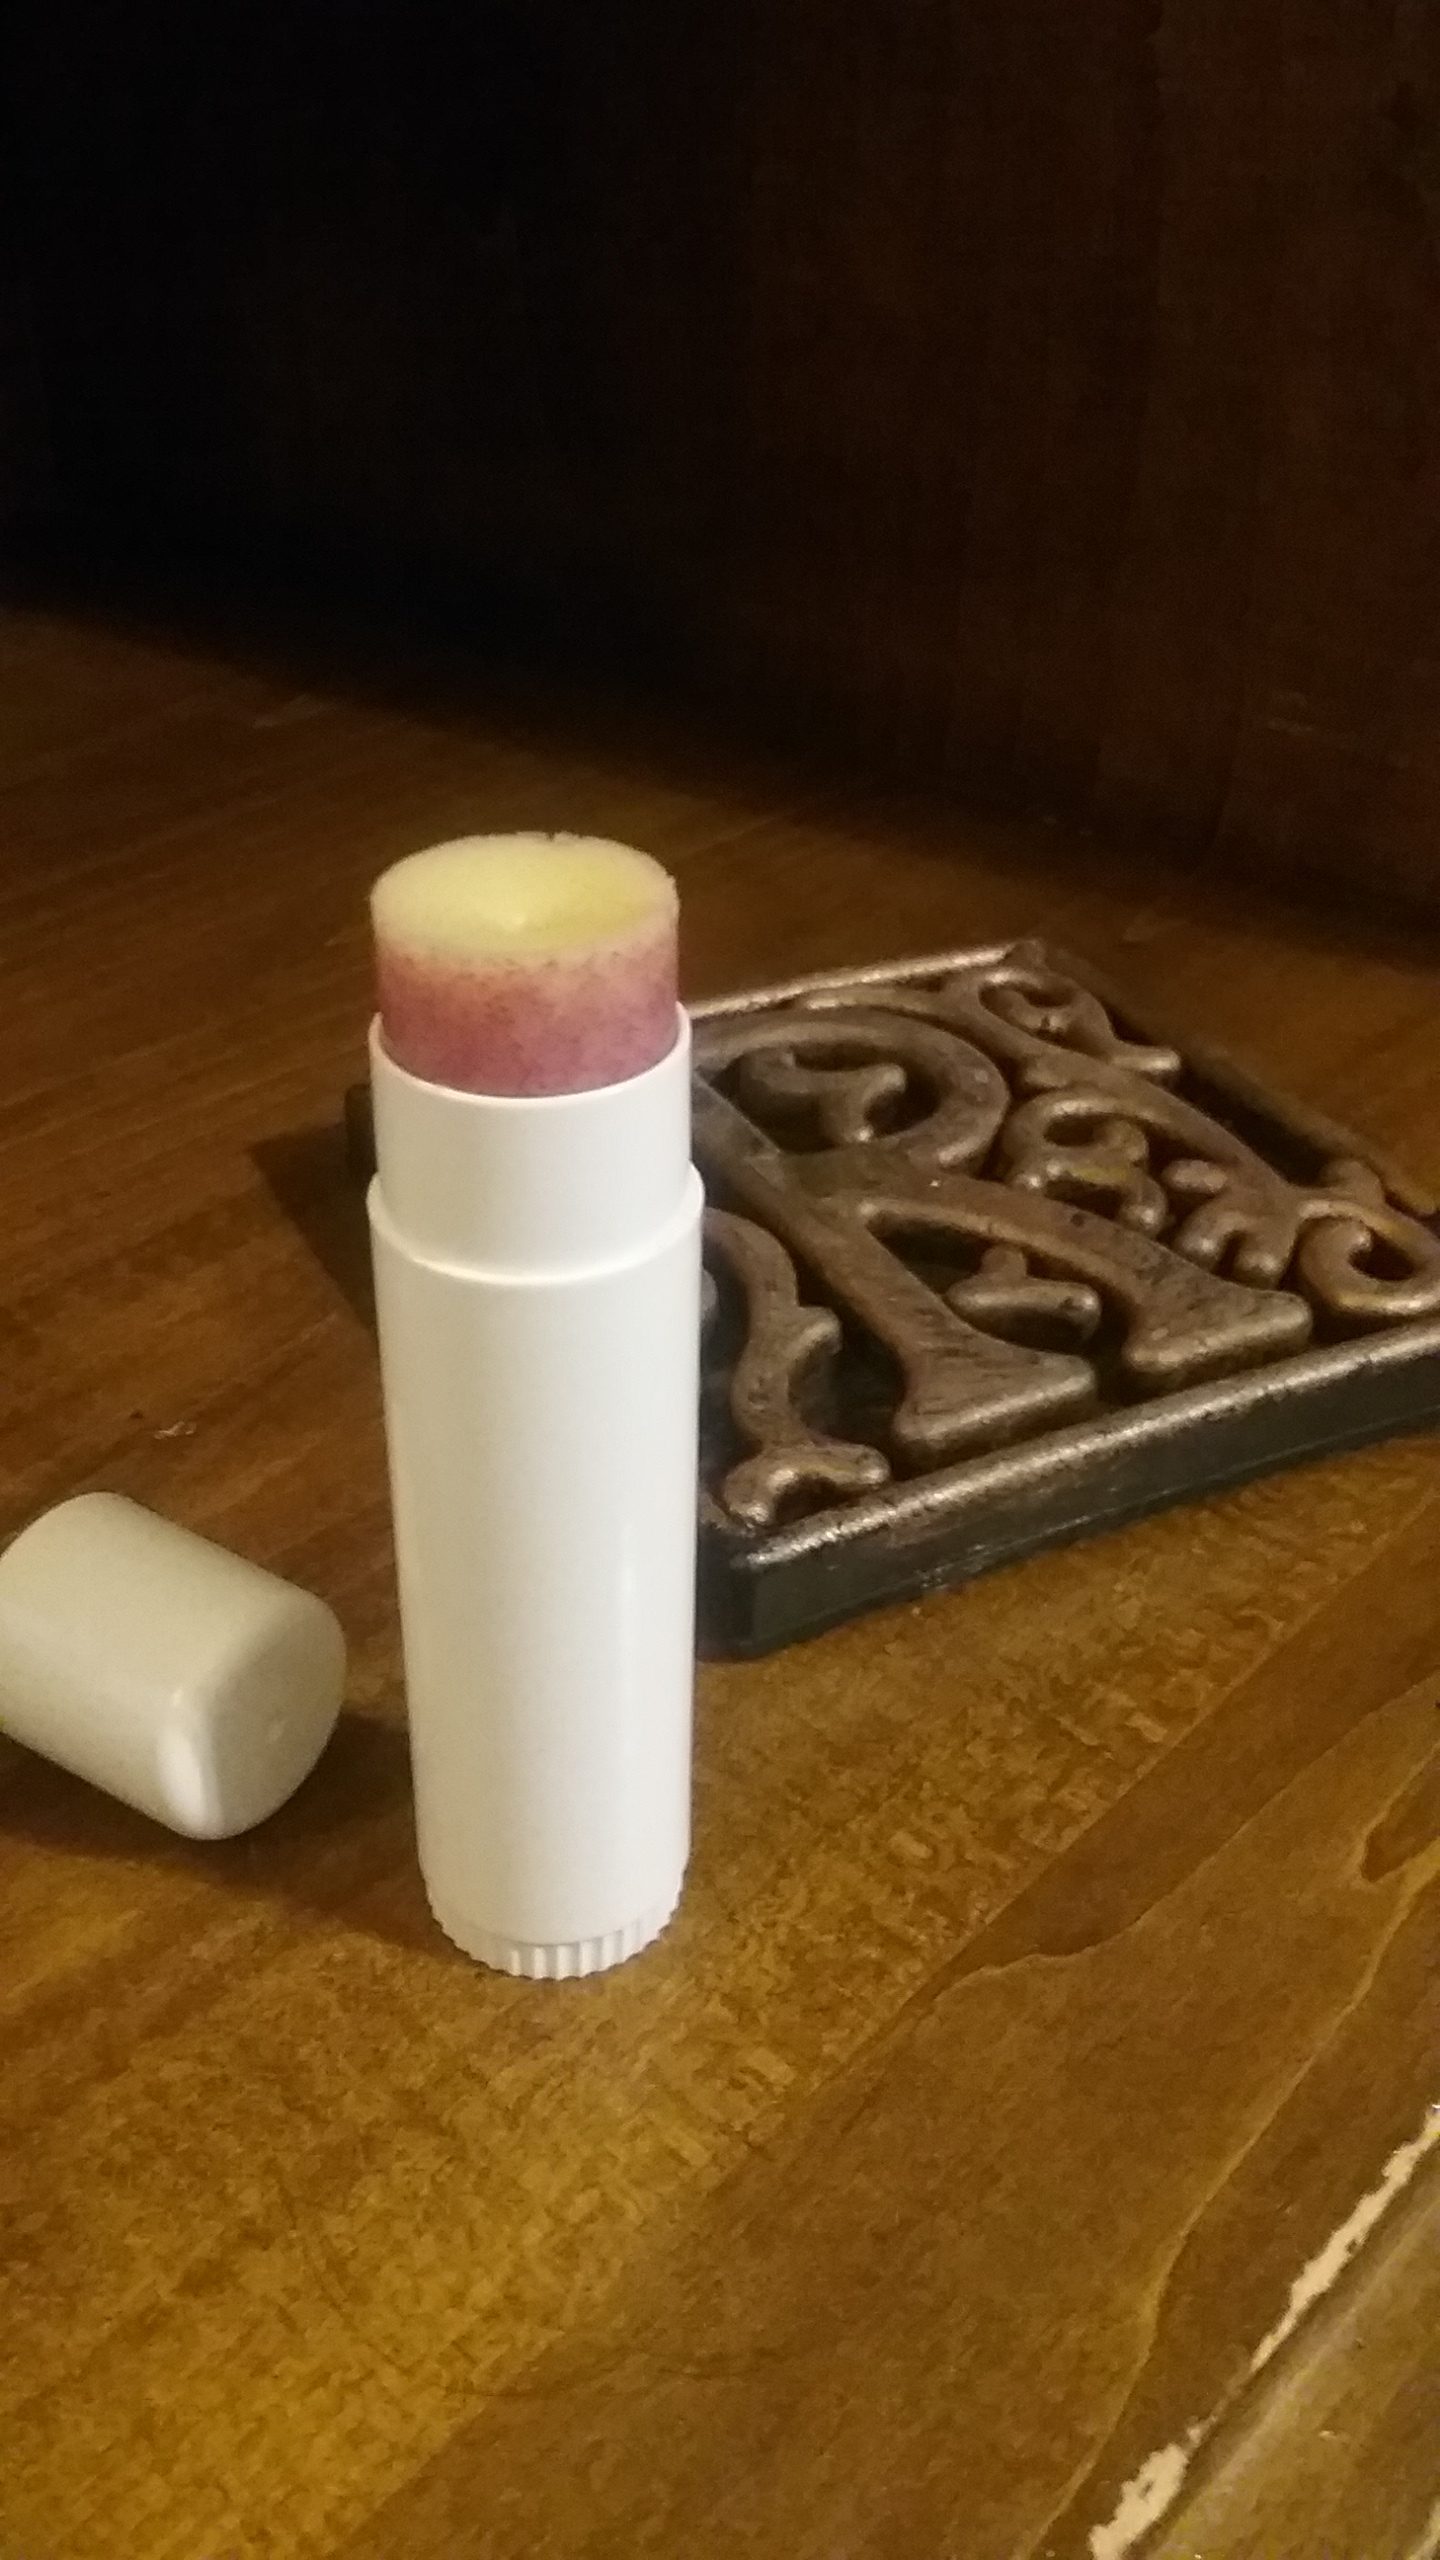
Failure alert: As you can see, my beet juice is not blending well with this project. I need to research how to emulsify this together better. Perhaps I didn’t add enough or let it remain over the heat long enough. I did; however, test the colored concoction on my lips and loved the natural look, but this added product for this particular RECIPE is considered a failure (for now).
Step 4:
Let your concoction completely cool.
As you can see below, my beet juice powder separated from the shea butter and beeswax. I imagine as I use it, I will still get some of the color on my lips… it’s just not the desired results that I wanted.
(Hey, I need to share my failures as well here on HCH, right? tee hee!) I love to experiment, but sometimes it takes a few times working at it to find success.) DIY projects should be fun and relaxing — and allow you to experiment a little bit. Follow direct recipes FIRST, then branch out a little bit by experimenting.
Additional TIPS for Creating DIY Beauty Products:
1. As I mentioned above, don’t be afraid to experiment. I know the ingredients are often pricey, that’s why I suggest initially following recipes EXACTLY, and then branching out. But, also consider this — If something turns out too thick or sticky, or not thick enough… you can REMELT your concoction and start over by remixing or adding some additional ingredients. You may lose some nutrients from your essential oils, but at least you won’t waste away the entire ingredients you used.
2. Personally, I found out that I prefer using sweet almond oil — which I actually used the last time I made the recipe above — and I liked the texture better. It seemed more moisturizing for my lips. This may just be me?? That’s why it’s good to test out other ingredients instead of giving up because you didn’t like the recipe you tried — or just settling for a ho-hum finished product.
Sweet almond oil also appeals to my minimalism (less products; multiple uses) >> I can use it for DIY projects, as a lotion replacement for my winter-dry hands, overall body oil, applied under my eyes before bed to reduce dark circles, and even use it on my lips at night instead of using lip balm. So, I keep a pump bottle of sweet almond oil handy in my bathroom, near the sink. (Lip balms, of course, are easier to use for traveling and for our purse.)
3. Some of these DIY beauty projects can be used for multiple uses. Think outside the box. For instance, I was given an Avon tinted lip balm for Christmas. I find that it works well for lips and cheeks when I’m in a super big hurry (or traveling lightly). Truthfully, after I put my face powder on top, it looks just like any other blush that I’ve used. >> The DIY Vitamin E Lip Balm recipe above could also be used around your nail cuticles to moisturize around your nails.
4. Try to collect DIY beauty RECIPES with similar ingredients so that you can cut down on the number ingredients and supplies to keep on hand.
5. Check Pinterest for similar projects before you start. If you lack an ingredient, you may find a similar recipe with the ingredients you already have on hand. Also, you’ll see how others have created a similar DIY product and you can adjust yours accordingly with ideas that you like. (For instance, a different combination of essential oils or different ingredient ratios…such as turning a lotion into a thicker cream.)
Above all, just try to keep things as simple as possible. You won’t continue creating DIY projects if it’s too much fuss and frustration.
Do you have any tips to share with me and my readers? Share your comment below. I LOVE hearing from my readers. 🙂