 It’s fun to add a little crafty touch to your gift bags, and it feels more “thoughtful” because it shows that you invested a little more time into your gift. I often buy plain bags at the dollar store because you can get them cheaper in “groups”.
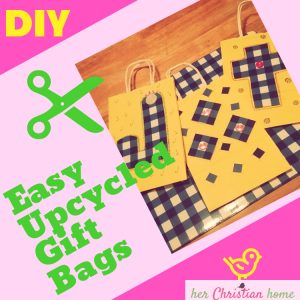
Today, I bought a 3-pack of yellow gift bags for $1. If you watch for clearance sales at Walmart and other stores, you can often snag an even better deal! They are of course, plain gift bags, but it doesn’t take much to turn them into something a little more special.
My BEST TIP for DIY crafts is to buy plaid / gingham designs. You won’t have to measure and use rulers! I’m fairly impatient and lazy when it comes to DIY projects. LOL (Tip: I also buy Gingham shelf liner rolls for my kitchen drawers so that I don’t need to use rulers!)
Don’t shy away from DIY projects if you feel that you’re not that creative. It’s surprising what just a few little touches of buttons or bows can do to make something look cute without a lot of hassle.
UPCYCLE USED BAGS: These ideas below are also a GREAT way to upcycle used gift bags to create a fresh, “new” design.
SUPPLIES:
3-Pack Gift Bags, 1 Place Mat (Preferably Gingham / Plaid), Tacky Glue, Scissors, Buttons, Markers

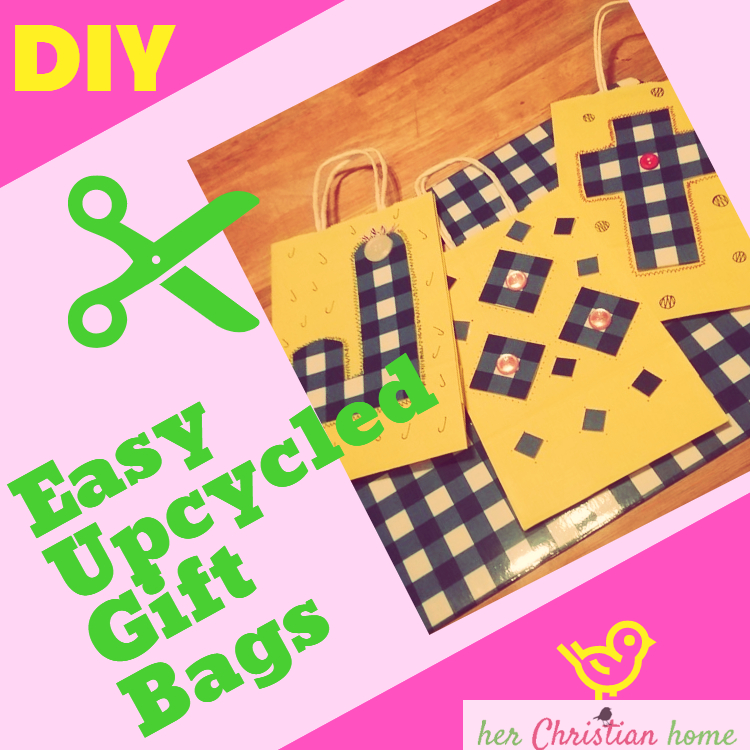
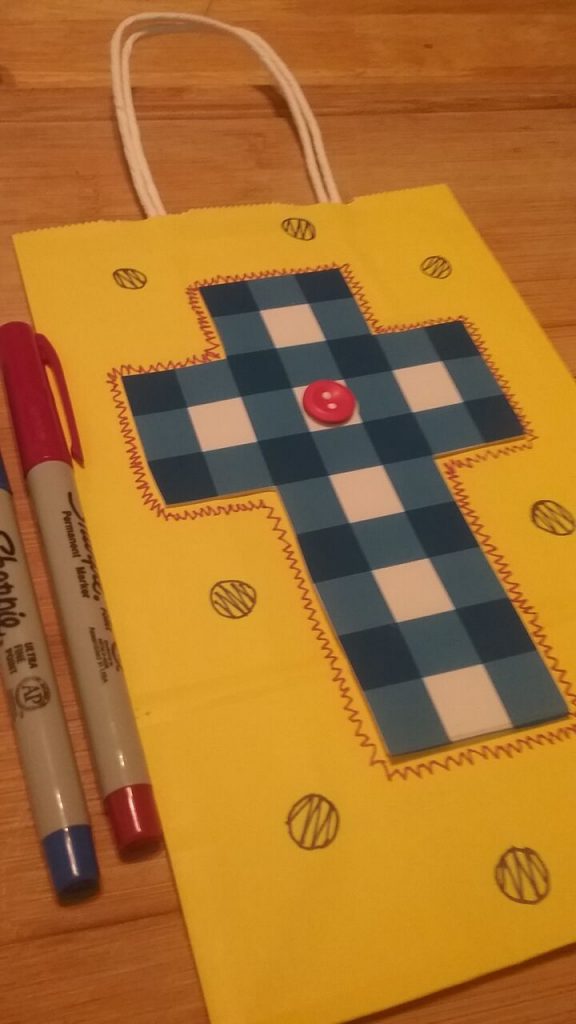
DIY CROSS GIFT BAG: (Great for Easter)
Follow the lines on your Gingham placemat to cut out the shape of a cross. Glue it on your gift bag. Glue on a button. I used a marker to draw a zig-zag line around the cross to give it a feel of having a “sewn seam” around the edges. I then drew some circles and kept with the zig-zag theme by drawing zig-zag lines inside the circles.
I literally had this gift bag done in 5-7 minutes!
Other ideas: Glue buttons instead of drawing circles around the cross. Add glitter around your designs. Add bows around your designs. Glue the cross up a little higher, and then write a Bible verse underneath it.
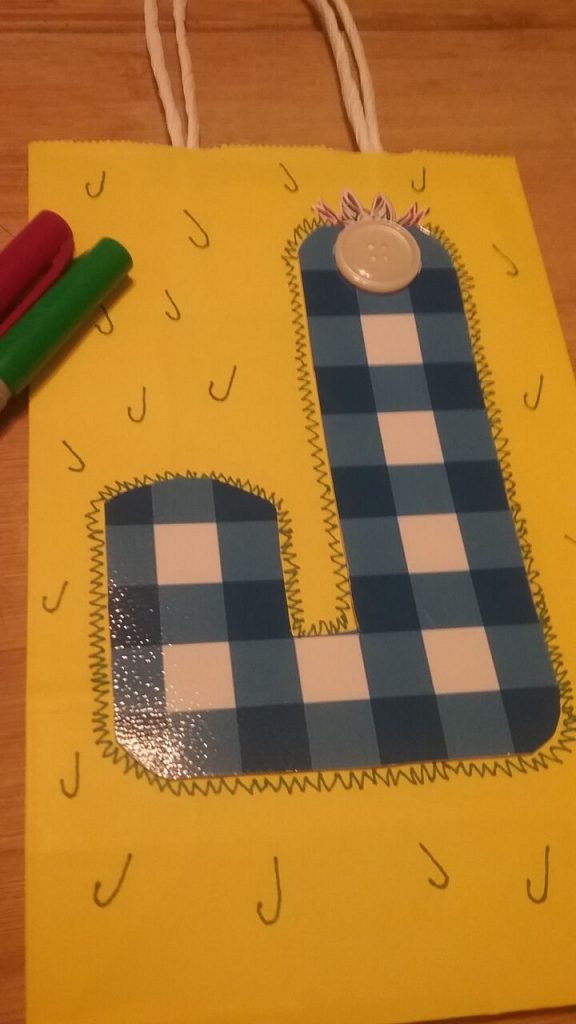
DIY MONOGRAM GIFT BAG:
Cut your letter using as many straight lines as possible from the Gingham design on your placemat. After cutting out my letter, I simply rounded the edges a little with my scissors. (You don’t have to do that, but I thought it would give a more pleasing appearance.) Glue on your button(s) wherever you feel that it would look best. I drew another zig-zag line around my design for the “sewn stitch” look around the edges. For extras, I drew little “Js” around my monogram. Above the button, I attempted to draw a little bow, but didn’t do such a great job. lol
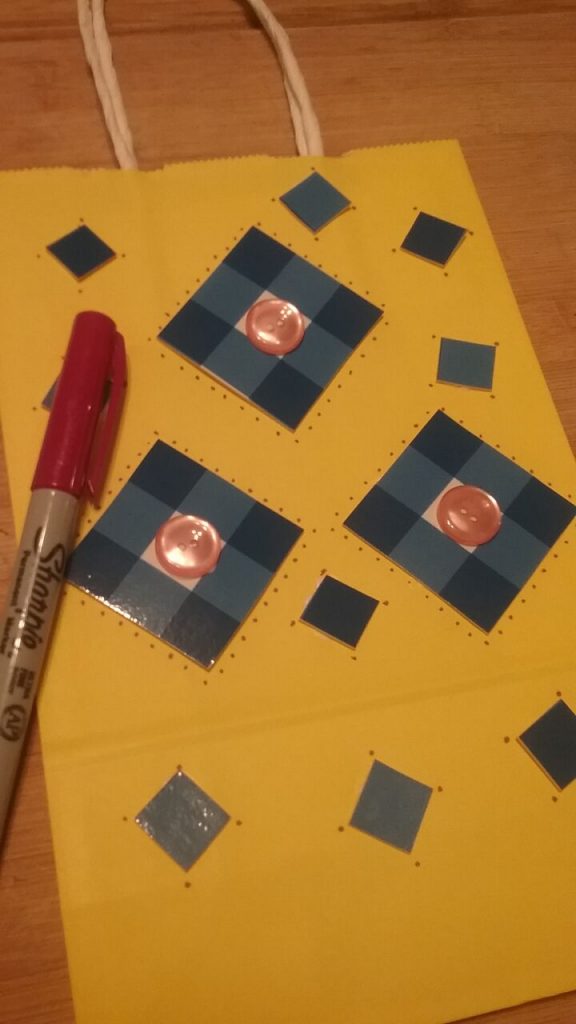
DIY CUTE SQUARES GIFT BAG:
I have a love for squares! And they’re so easy to do with the Gingham design… Just follow the straight lines, and cut the size of squares you want. Glue on some cute buttons. Add some smaller squares around the edges. I used a marker to point and place little dots around the edges of the larger squares. On the smaller squares, I got lazy and just put a dot on each corner… I think it would have been just as cute to leave the little squares plain without any dots at all.
NOTE: After completing these three gift bags, I STILL have 3/4 left of my PLACEMAT! So, the dollar spent on this placemat will still be useful for a few more gift bags. 🙂
> SHARE any ideas that you use for gift bags with our readers! I’d LOVE to hear your ideas!